KurchuSoftware Solutions
 By
What are Tabby and Tamara?
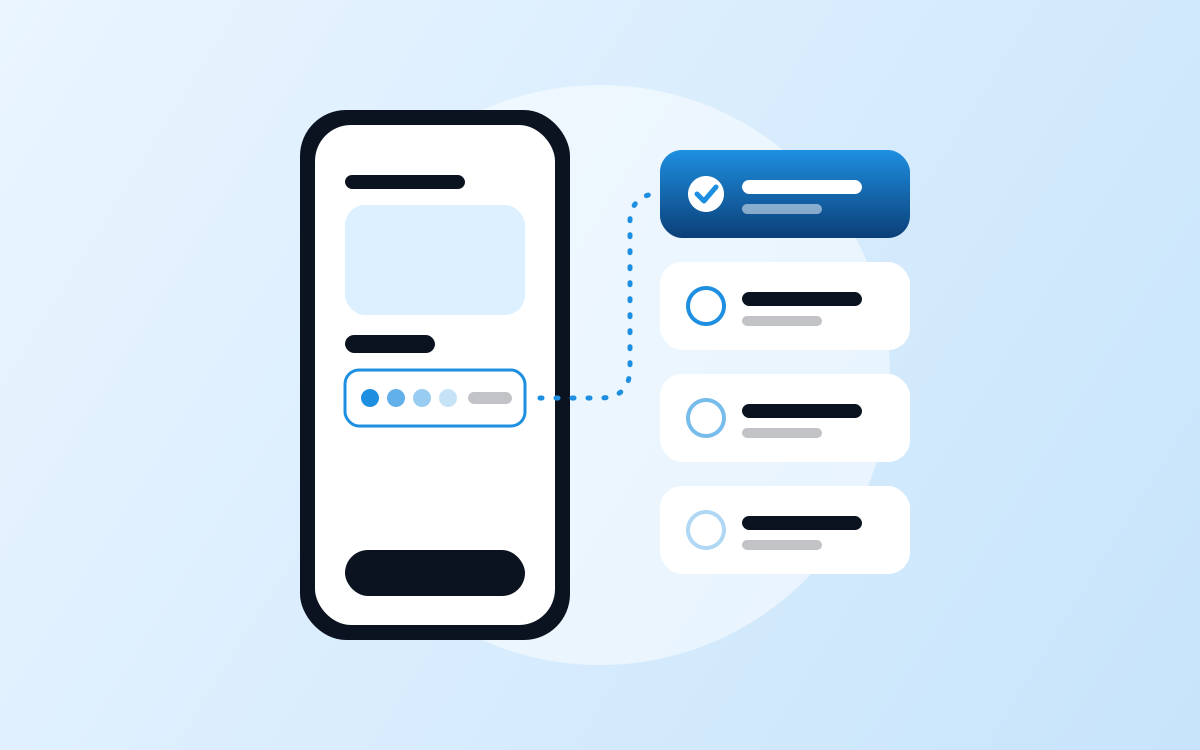
Tabby and Tamara are buy-now-pay-later (BNPL) providers widely used across the UAE and Saudi Arabia. At checkout the customer chooses to split the purchase into instalments; the provider approves the customer, collects the instalments and settles the order with the merchant under the terms of their merchant agreement.
For an app, that means a new payment method next to cards, Apple Pay and Google Pay. Many UAE customers now look for it on higher-value purchases such as electronics, fashion, furniture, beauty and services, so it is a common request for e-commerce and booking apps built for the Emirates.
How does a BNPL payment work inside a mobile app?
Tabby and Tamara follow the same overall flow. The app handles the customer experience; your server holds the secret API keys and decides whether an order is paid. The steps are:
- Show instalment messaging — the provider's snippet or widget — on the product page, the cart and the payment step.
- When the customer taps Place order, create one checkout session for exactly that order and amount.
- Open the provider's checkout in the app, through its SDK or its hosted payment page.
- The customer signs in, verifies their identity if needed and approves the plan.
- Your server confirms the result with the provider's API, backed by webhooks — not by what the app reports.
- Your server finalises the payment — capture for Tabby, authorise then capture for Tamara — and the order is fulfilled; cancellations and refunds also go through the API.
Tabby vs Tamara: what is different for developers?
The two integrations are close enough that one well-designed payments module can support both. These are the differences that matter when you build, based on each provider's developer documentation as of October 2026:
| Tabby | Tamara | |
|---|---|---|
| Official mobile SDKs | iOS, Android, Flutter (tabby_flutter_inapp_sdk) and React Native | iOS, Android, Flutter and React Native |
| Checkout session | Created through the SDK, or by your backend for a hosted payment page | Created by your backend; the app opens the returned checkout URL |
| Confirming the payment | Retrieve the payment from your backend, backed by webhooks | Webhooks for each order event, plus the order status API |
| After approval | Capture the full amount once the payment is AUTHORIZED | Authorise the order (within 72 hours unless auto-authorise is on), then capture when it ships |
| UAE identity check | Inside checkout; needs camera, microphone and photo access | UAE KYC Web SDK inside a WebView; needs camera access and inline media playback |
| Instalment messaging | Product, cart and checkout snippets | Product, cart and checkout widgets following the UAE guidelines |
| Through a gateway | Also offered through Checkout.com | Also offered through Checkout.com |
Should you use the SDK or a hosted checkout page?
For most apps the official SDK is the right choice. It handles the checkout screen, the result callbacks and the instalment snippets, and it is maintained by the provider as their checkout changes. Flutter and React Native apps can use the providers' own packages, so a cross-platform app does not need two native integrations.
Without an SDK, your backend creates the session and the app opens the provider's hosted payment page. Tabby recommends the system browser — a Chrome Custom Tab on Android or an ASWebAuthenticationSession or SFSafariViewController on iOS — with success, cancel and failure URLs that deep-link back into the app. An embedded WebView also works, but you then own the camera permissions and the recovery when a customer leaves the app mid-checkout.
If you already take card payments through Checkout.com, both providers are also available as payment methods there, which can mean one integration and one settlement report instead of three.
Why must the payment be confirmed on your server?
Because the app is not proof of payment. Customers switch to a banking app, lose signal or close the checkout after approving it, so the result screen can be missing or wrong. Tabby's documentation is explicit: the status lives on the provider's backend, a closed checkout is not a cancellation, and a pending status is not a failure.
In practice your server should:
- Save the payment or order ID as soon as the session is created, before the customer can leave the app.
- Show a "Confirming your payment…" state rather than an instant success or failure screen.
- Re-check the status with the provider when the app returns to the foreground, polling your own backend with a capped back-off.
- Treat webhooks as notifications: answer quickly, ignore duplicates and handle events that arrive out of order.
- Capture, cancel and refund with unique reference IDs, so a retried request can never charge or refund twice.
What camera and ID permissions does the app need?
New customers may have to verify their identity inside checkout — for example by photographing their Emirates ID — so a checkout that cannot open the camera loses sales. Grant the permissions before release and test them on real devices:
- iOS (Tabby): add camera, microphone and photo library usage descriptions to Info.plist; the Flutter SDK also needs the camera and microphone permission flags in the Podfile.
- Android (Tabby): declare CAMERA, RECORD_AUDIO and MODIFY_AUDIO_SETTINGS, handle permission requests in your WebChromeClient and use the photo picker for image uploads.
- Tamara in the UAE: the ID check runs on the UAE KYC Web SDK, which needs JavaScript, camera access and, on iOS, allowsInlineMediaPlayback set on the WebView.
- Ask for runtime permissions with a clear explanation; granting everything silently is only acceptable in test builds.
Where should the instalment messaging appear?
Both providers expect the instalment price to be visible before checkout, not only as a payment option. Tamara's UAE guidelines place the widget directly below the product price, below the cart total and among the payment methods, in Arabic and English, with amounts recalculated live and never shown as fractions. Tabby's checklist asks for snippets on every product and every cart amount, updating as the cart changes, and shown only in the countries where your merchant account is registered.
Use the providers' official wording, logos and pop-ups rather than writing your own claims. In a bilingual app, check every snippet in both languages and in right-to-left layout — see our guide to Arabic and right-to-left apps for the details.
What does the go-live checklist test?
Neither provider switches a merchant to live until its checklist passes. Expect them to test:
- Success, cancellation, rejection and failure, each landing on the right localised screen.
- The corner case where a customer approves and then closes the app before returning — the order must still complete through webhooks.
- One checkout session per Place order tap, never cached or reused, with the same total for every payment method.
- No close or back buttons drawn by the app over Tabby's checkout.
- The cart kept after a cancellation and cleared only after success.
- Full, partial and repeated refunds, plus cancellations, matching on both sides.
- The UAE ID verification flow and the widgets working inside the mobile app, not just on the website.
How long does it take, and what does it cost?
For an app that already takes payments, adding one BNPL provider is usually days of engineering, not weeks; adding both mostly reuses the same payments module. The cost depends on your app's existing checkout, backend and platforms, so it is quoted from a written scope like any other feature. Merchant onboarding and each provider's go-live review run on their own schedule, so start the merchant applications early.
The providers' own fees are set in your merchant agreement with them, separately from the cost of building the app.